Techniques
This page includes detailed descriptions and instructions for some of the techniques I use in making my fused glass art. As always, if you have any questions about the information provided on this page, please feel free to contact me at genelady8@gmail.com. Please use the following links to read more about these techniques:
1. Fused Glass Powder Printing
2. Vitrigraph pulls with concentric radiating designs
3. Fused Glass casting of broccoli and other veggies
4. Making tree bark and small pieces like lichens and fungi
1. Fused Glass Powder Printing
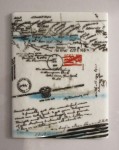
After taking an introduction and then 2 week class with Stacy Smith (first at Bullseye Glass in Portland, OR and then at Penland School of Craft in the NC mountains), I knew I wanted to pursue this technique. It relies heavily on Photoshop, and I learned a lot about “Layers” taking the class. Here are the basics: First, I manipulate photos (or other art pictures) in Photoshop and print the size transparencies (black on clear – laser printer gives darkest images) of the different layers (colors/images) I want in my artworks. Then I make a silk screen – I use a 110-137 mesh silk screen (from Victory Factory) and coat it with emulsion in a darkened room. After it is dry, I arrange the transparencies on a clean clear glass plate (1/4 inch thick or less so that UV light can pass through) on a light box containing UV fluorescent lights). On top of the transparencies I place the silk screen and then some opaque cardboard and books. The emulsion film gets exposed to the UV lights for about 2 minutes (varies with each person’s set up). Then, I wash off the silk screen with a strong water spray (hose outside is good) and dry it again. The areas with the black on the transparency should wash out as the UV light did not cross link that area.
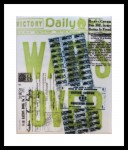
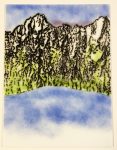
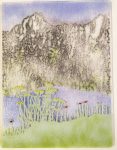
The next step is to print by pushing glass powder through the silk screen (white areas) onto a piece of glass to fuse. Suspend the silk screen above the glass so that it doesn’t smear when making the print. To print, push glass powder through the screen onto a clean sheet of glass. After printing, fuse the glass – high temperature (for me 1450 degrees or higher) will give a smooth glossy appearance. Later, after the first fuse, you can print another image and fuse at a lower temperature (about 1275-1350) depending on color used and textural effect desired. There are so many variations to try that each artwork becomes a monoprint. Note how the WWII War’s Over prints, which use the same images, differ with different emphasis and color.
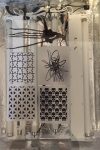
- Transparency examples
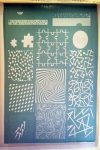
- Exposed silk screen example
- Piggy Graffiti 2 (sold)
- WWII Rationing (Red) 19″x15″
- WWII Rationing (green) 19″x15″
- WWII letter and map (sold)
- Mountain Spring first fuse
- Mountain foreground print
- Mountain printed layers ready to fuse
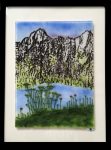
- Mountain Springtime (18″ x 14″)
2. Vitrigraph Pulls with concentric radiating designs
For the container, either obtain a flower pot (must be Italian clay – dark brown) and enlarge the hole in the bottom to at least one inch in diameter. Bullseye Glass sells the one I like to use which is wider and already has the larger hole in the bottom. This pot is really only good for one or maybe two pulls – I wouldn’t trust it for more than that.
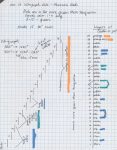
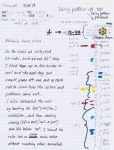
Layer 29-30 circles of 3mm glass of different colors in the pot. If you look at my sheet (figure 1), I list the glass on the right side of the page going up for each layer. First of all, especially near the bottom, put 2 layers of the same color together for best effect. I show on the left side where the different colors come out in the center of the rods you are pulling. The colors change very quickly at first so that in the first few rods (I make mine about 20 inches long), a lot of the bottom layers are gone fast. That means you can actually do several layers of clear – or say you make layer 4-5 aventurine green. That becomes the outer color of the rod for most of the pulls. You can see from this chart that the layers at the bottom come out very fast (in the first few rods) whereas the top layers will show up in many layers at the end. This means that if you want a lot of one type of murrini, place that layer at the top of the pile.
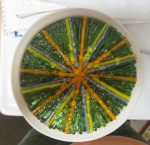
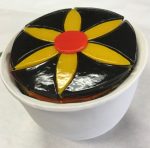
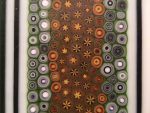
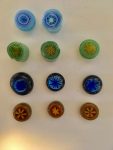
The main thing to keep in mind is that whatever is at the very top of your pile will become the center at about ½ way through the pull (about rod # 8-10 for me), and the rest of the pull will have that type of center. That makes it really nice if you put a design like radiating spokes (figure 2) or a daisy pattern (figure 3) at the top. For the daisy pattern (3 layers of 3mm glass) and the green cells (orange and yellow spokes, about ½ inch thick), I pre-fused them (just to tack it – at 1300 degrees). You will get a lot of variations of this design in about ½ of the rods. See the Sushi plate in progress (figure 4) and the detail (figure 5) that shows a lot of the daisy pattern variations. I also show in figure 6 a sample of the radiating murrini I have made. I just finished teaching a workshop where we made two pulls, one was the daisy pattern at the top, and the other was a blue and turquoise spokes pattern (figure 7).
Here is the Vitrigraph kiln program I used for these pulls:
200 degrees F/hour to 900 degrees, hold 1 hour
400 degrees F/hour to 1505 degrees, hold 3 hours (long enough for total pull)
Figure 8 shows the chart for the Daisy pattern vitrigraph chart. It goes along with a lot of the other figures.
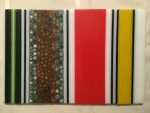
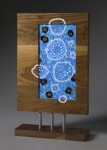
The last two figures show two of my pieces made with radiating murrini I made with the vitrigraph. These are mounted in walnut stands.
- Figure 1
- Figure 2
- Figure 3
- Figure 4
- Figure 5
- Figure 6
- Figure 7
- Daisy pattern vitrigraph chart
- Green Star Cells (sold)
- Blue Star Cells (sold)
3. Fused Glass casting of broccoli or other veggies
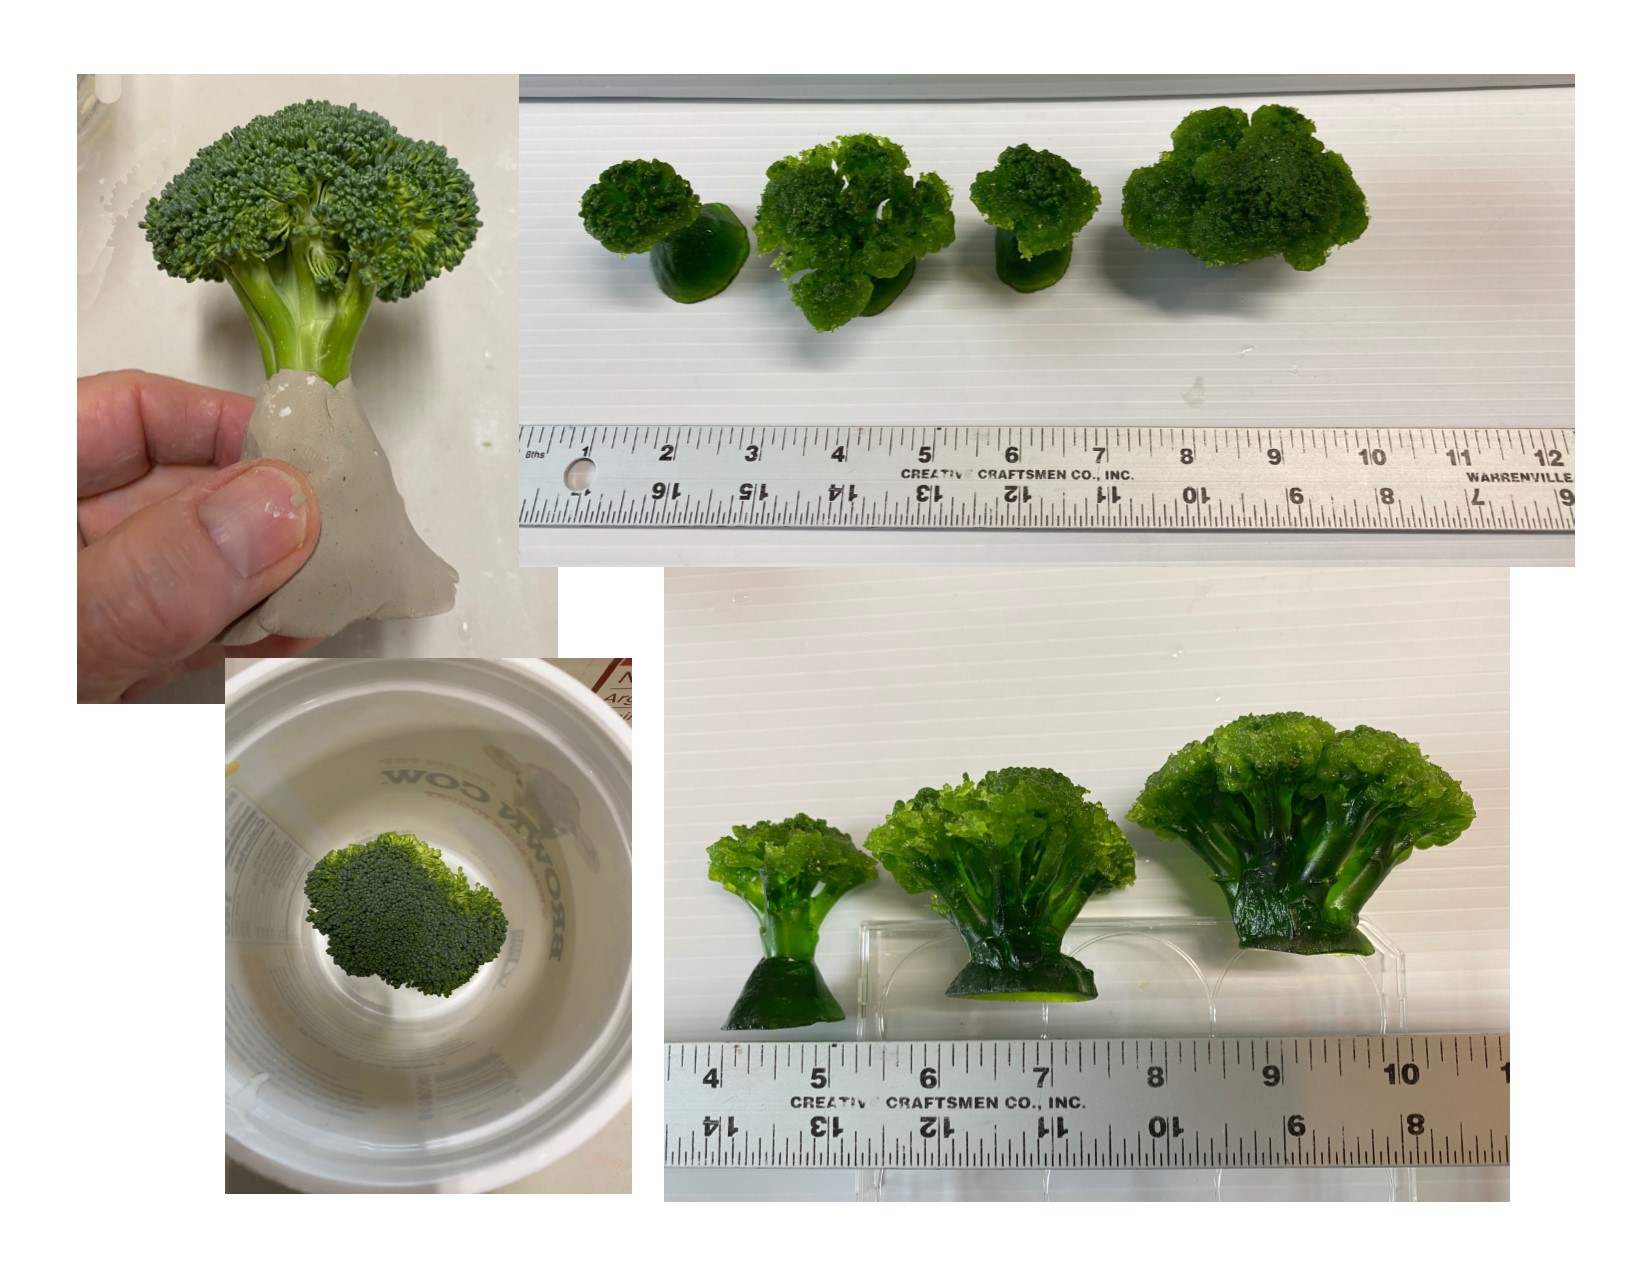
About 15 – 20 years ago, I had beginner’s luck casting broccoli in a class with guru Dan Fenton. The technique is pretty simple and straight forward, but producing excellent results is a little iffy. Recently, a friend wanted me to make her some glass broccoli, and so, in all my spare time this fall and winter, I have made 3 attempts at it, with some success this past week. To my glass fusing friends, try casting broccoli or another more solid vegetable like cauliflower, which will probably yield great results every time. Here are my two hints first. Use a really fresh and good investment like Bullseye plaster/silica mix that has not been sitting around for months or years (like I did for my first 2 attempts), which is what I used for this 3rd attempt. Secondly, use a young broccoli head, also with a fat stem, that doesn’t have really thin last branching threads below the top flowers. Someone told me recently to freeze the broccoli before casting as it will have stronger/harder flowers. I found that 5 pounds of plaster/silica will be enough for 4 small castings.
Wear a mask for this project. Plaster and silica dust are dangerous!
What you need:
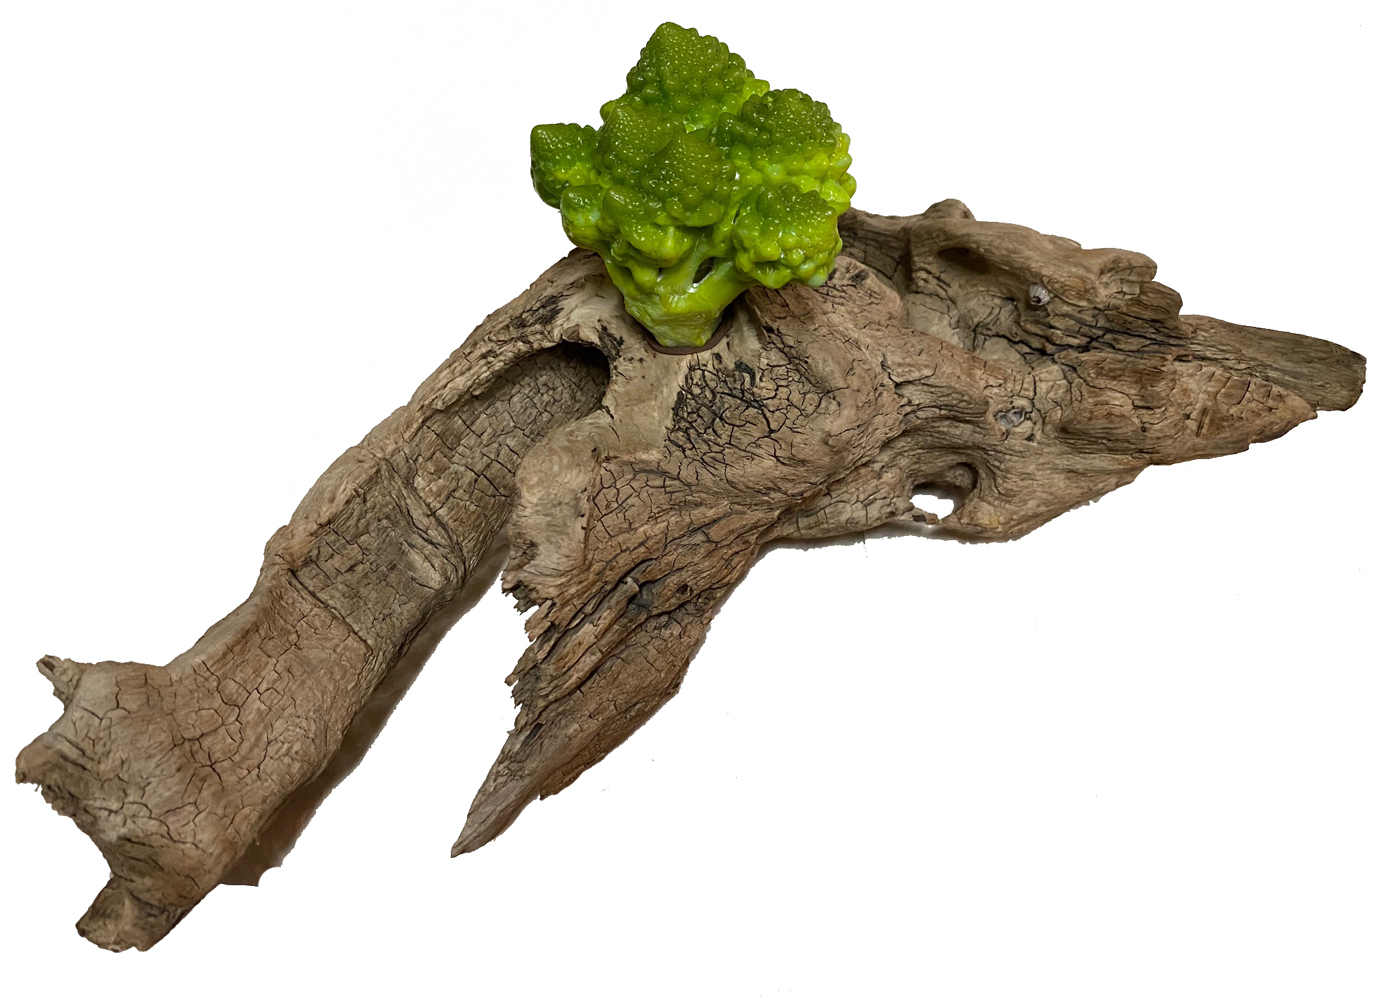
4 pieces of broccoli (cauliflower will actually really work well, I used Fibonacci / Romanesco cauliflower too).
Large plastic yogurt container (32 oz.)
Four small pieces of natural clay (about 1.5 inch cubes, then shaped into cones)
Two buckets, one filled about half with water (for washing hands and soaking any utensils used like spoon and spatula).
50/50 plaster silica mix. Don’t skimp on this. Michael’s is not the place to get this. I have used R&R, made my own mix with glass maker’s plaster, and used Bullseye’s mix. The main reason it must be freshly made is that plaster will bind the water on standing around even if it looks fine, and it just will not make a good casting. I know from experience!
Step 1 – Making the mold
First, form the clay into a cone shape and stick the broccoli into the sharp end (see image below). Then carefully edge out the flat part of the cone and push the edges into the middle of the bottom of the yogurt container. I do this just before making up the plaster mix.
To make the plaster mix with about 5 lbs of plaster/silica, pour 2 1/2 pounds water into your empty bucket. Slowly put (almost heavily sprinkle) the plaster onto the top of the water, letting it settle in but not stirring. When you see cracks of plaster forming at the top all around, you have added enough plaster. It should be almost all the 5 pounds. Then before you mix, let it slake for about 3-4 minutes (set a timer because you will be afraid it will start to harden). Then start mixing with one hand until all the lumps are gone and it seems well mixed. Try not to get bubbles while you are mixing.
Pour the mix gently into each yogurt container until the broccoli is covered. Use a spatula to get out the last bit if you need it. Tap and wiggle each container to try to get out bubbles. Let the molds dry for about 2+ hours. Then you can cut away the plastic yogurt containers and remove the clay from the mold. I use little tools to make sure all the clay is removed and I have a good reservoir now for the glass. Then, I usually let them sit for a day before putting them in the kiln, although I think in our class we did the burnout of the vegetables on the same day. As soon as the molds are made, wash out the buckets and all utensils, etc. outside with your hose. Don’t use your kitchen sink as you will plug up the drain pipes.
Step 2 – Burning out the organic material
Before burning out the broccoli, put 2 – 3 rings of stainless wire tightly around the molds in case they crack. These can be saved after firings for future castings. I have seen small cracks after the burnout and I also protect my kiln shelf with some old fiber, but I haven’t had any problems with breakage or molten glass leaking in many similar firings. There’s not that much glass in these small castings. For casting vegetables, you must burn out the organic material before adding the glass. It creates ash, and it stinks. Beware, and vent the room or your studio. The kiln needs to be vented too, especially at the 500 degree hold where some of the chemical water is released. I usually keep my kiln lid open about 1-2 inches with kiln furniture during the whole firing.
Here is the firing schedule for the organic burn out: in Fahrenheit
250 deg/hr to 500, hold 1 hr.
200 deg/hr to 1050, hold 2 hr. and then let it come naturally to room temperature.
Step 3 – Casting in glass
After the mold cools to room temperature, you need to get rid of the ash. I use a vacuum cleaner very carefully at the edge of the down turned mold. If you pull a full vacuum, you will destroy the delicate inner part of the mold. I also poke a very soft thin paint brush in some of the holes and shake and dump the bits out. Now the mold is ready for glass. I use powders and frits. For my broccoli castings if I want accurate color, I put a small amount of light aventurine green (Bullseye 1412) powder in first and shake it around. Then I use 1426 spring green powder to fill the plant part of the mold. Keep shaking to get as much powder to settle in as possible. Then I fill the reservoir with 1426 med and coarse frit.
Here is the firing schedule I use for the glass casting: in Fahrenheit
300 deg/hr to 500, hold 30 min.
300 deg/hr to 1250, hold 30 min
50 deg/hr to 1535/ hold 2 ½ hours*
Full to 900/ hold 30**
150 deg/hr to 700
Wait to open until at room temperature.
Notes: * Yes, very slow to 1535. Slow increase is in part needed for keeping the mold intact. Also, I think Dan’s recipe was 2 hour hold at 1525. I needed more to make a good casting. Kilns may vary. In my first recent firings the flower cap of the broccoli didn’t form well, which is why I increased the time and temp.
** Dan said for these small castings, longer anneal isn’t needed as mold holds the heat. I have had no issues with my small veggie castings with short anneal time. I think he used no hold at the anneal temp.
Step 4 – Separating the mold from the casting
After the mold has cooled to room temperature, I use a screw driver and hammer to gently break the mold away from the glass. You will see that once a crack develops in the mold, it tends to break away from the glass. When all the large pieces of plaster are removed, the plaster residue can be chipped away with small tools, even wires. Also, dip the glass in water and use a tooth brush. When you can’t get any more removed, try soaking in CLR and then washing and brushing till most of the plaster is removed.
4. Making Tree Bark by the Crackle technique and small parts with “Modeling Glass” clay
I am a retired scientist and love making art works with science themes. I am always inspired by nature, and I love looking close at lichens and other little things. As soon as I saw Bob Leatherbarrow’s Crackle technique, all I could think about was bark, Bark, BARK! And I thought of using glass clay to make the other little pieces.
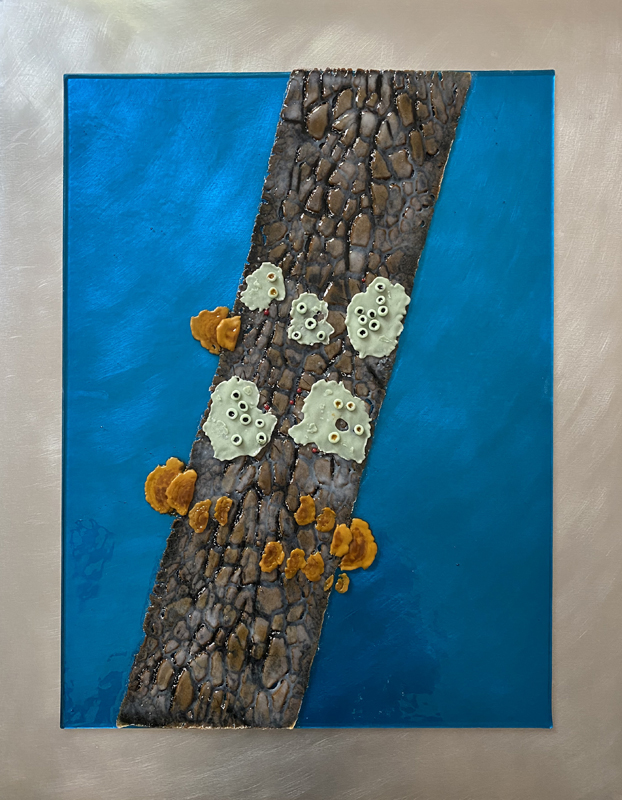
It is 20” x 16” total on an aluminum canvas that I have custom made (if any one is interested, I can describe these, how I use them and where to get them – contact me). The glass is about 16” x 12”.
The background base glass is 3mm Bullseye 1116.30 turquoise. The tree, lichens and fungi are Bullseye powders. First, I cut out the size of 1/16 inch thick ceramic fiber for the tree bark base and sifted about 2-3mm thick woodland brown (0203) powder on that fiber (takes a lot of powder). Then I sprayed water onto the powder so that it was all damp but not soggy. Then I put my fingers under the fiber and made cracks develop in the powder. After drying the powder for a few hours or overnight, I carefully lifted the fiber into the kiln and fused it at 1350 degrees F for 10 min.
At the same time I pre-fused the dried little lichen pieces made from Modeling Glass clay including the tiny lichen cups that were individually fired first, and I was happy that they kept their shapes at 1350 degrees. The lichen pieces were celadon green powder, and the fungi bracts were butterscotch (0337) with some brown 0203 powder on top.
When I opened the kiln on day 2, the tree bark was many little separate pieces. So, I left it in the kiln and carefully filled all the cracks with black powder, brushing that powder off the top and into the cracks. I also added some white powder to make part of the bark a bit lighter and then refused the tree bark (still on the fiber).
On day 3 the tree bark was solid and was removed from the kiln intact, and the ceramic fiber washed and removed from the back of the glass bark. I used a tooth brush, but I was gentle. Then, after drying it, I put the bark on a layer of clear powder on the turquoise background glass, filled any holy cracks with more powder, and placed all the little lichen and fungi parts in place. I used White Rain hair spray as a glue to keep things in place if needed. This glass was also fused to 1350 degrees for 10 min. I usually don’t like to fuse more than 3 times, but I wanted to add a few more of the fungi bracts to the piece. So, I added a few more without pre-fusing, and fused at 1310 degrees for 10 min. I was happy with the results.
Also, I use 3M strong double stick automotive tape and E6000 glue to attach the glass to aluminum. The only issue is that the tape is gray, not clear. But it is very, very strong (once on, impossible to remove).


